Showing posts with label SAIGE'S CASA. Show all posts

Friday, January 23, 2015

Succulent Plants - Saige and Josefina


I found these succulent plants for Saige and Josie at the Dollar Tree. They had other versions of flowers and blooms. Spring items are showing up in stores now so keep your eyes open.

Sunday, December 21, 2014

*ROOM TOUR* - Saige's Casa

Saige has her own Casa


It's narrow and measures 13" deep x 24" wide x 20" high. Enough space for a bed and storage at the foot. When you can't build out - build UP!


There is nothing on the walls. I hope to eventually make a cardboard shelf to go up at the foot of the bed. This will provide storage for her smaller accessories.


Saige's bed is a simple cardboard box with a handmade mattress and bedding out of southwest corduroy fabric that I found at Hancock Fabrics. 


Ideally under the shelf a wall mount TV would be a great space saver. Saige's clothing is stored in the closet of my doll room.

Thursday, July 3, 2014

Saige Decorates Her Casa - Patriotic Style

More Patriotic decorating ideas for your doll spaces.


 Saige is putting the final touches on her Casa in time for the 4th of July!


Streamers, flags, and flowers purchased at the Dollar Tree.


The flag print bucket is from the dollar bin at Target.


Hobby Lobby scrapbook papers.


Saige wears GOTY 2014 Isabelle logo t-shirt, her own white skinny jeans, canvas shoes from My Life As... and her own jewelry.


She and her alien friend will watch fireworks from the roof top!

Saturday, April 19, 2014

My Big FAT Project - Doll Room TOUR

 VIDEO TOUR
Here is an over view of my doll room.


Top Attic - Kit and Ruthie
 

2nd floor - Molly and Emily

Ground level - Julie and Ivy


 Wall across - Samantha and Nellie

Smaller wall by the window - Saige's Casa


Inside the Casa is enough room for Saige's bed, she stores her shoes at the foot of the bed. 


On the rooftop sits Saige's alien where she spends nights gazing up at the stars!

Thursday, June 13, 2013

AGP- Saige's CASA #2 Display

AGP did it again! 
This time they made a single story casa for Saige. 
I love this one!! I think it's better for storing and easier to make.
I especially love the door on this one. 
Photo: Brenda Freiger
Instead of Styrofoam cups, use paper towel tubes on the roof top! Look like a foam board project for sure!!

See the original two level casa I made - 

Friday, March 1, 2013

How To Make Saige's AGP Casa

I asked my mom to send me photos of Saige's Casa from the AGPLA window display. AG doesn't sell it, but I still wanted it. I decided to make it myself using cardboard boxes. (What else?)
Here is the photo from AGPLA.

I have a lot of photos here to help show how I made my Casa, but let me tell you it is VERY EASY! The mass pictures are for detailed tutorial purposes. 

I turned the box inside out to eliminate the writing.
 

 The box is 2x2-feet but still wasn't tall enough so I added 18-inches of height using the shipping insert.

I added foam to trim the windows out - you can use felt, popsicle sticks or scrapbook paper. Then I added a door using dark wood contact paper.

My mom suggested cups for the roof. Cut in half these mimic tiles. I suggest painting them on both sides before hot gluing them on. 

Here is how I reinforced the upper part of the house facade. hot glue it on both sides then add a support in back.

No worries about that seam - it will be covered once the completed patio awning is hot glued.


Now with all of the window details painted  - its time to add the porch and the support posts (wrapping paper tubes). Pre-measure the posts then trim evenly to size. 

The original AG Casa has four posts. Both my mom and I think the Casa is at least 42" wide. Mine can only accommodate two posts without blocking the door. Now is the best time to hot glue the front porch onto the Casa bottom. I secured the posts with hot glue too.
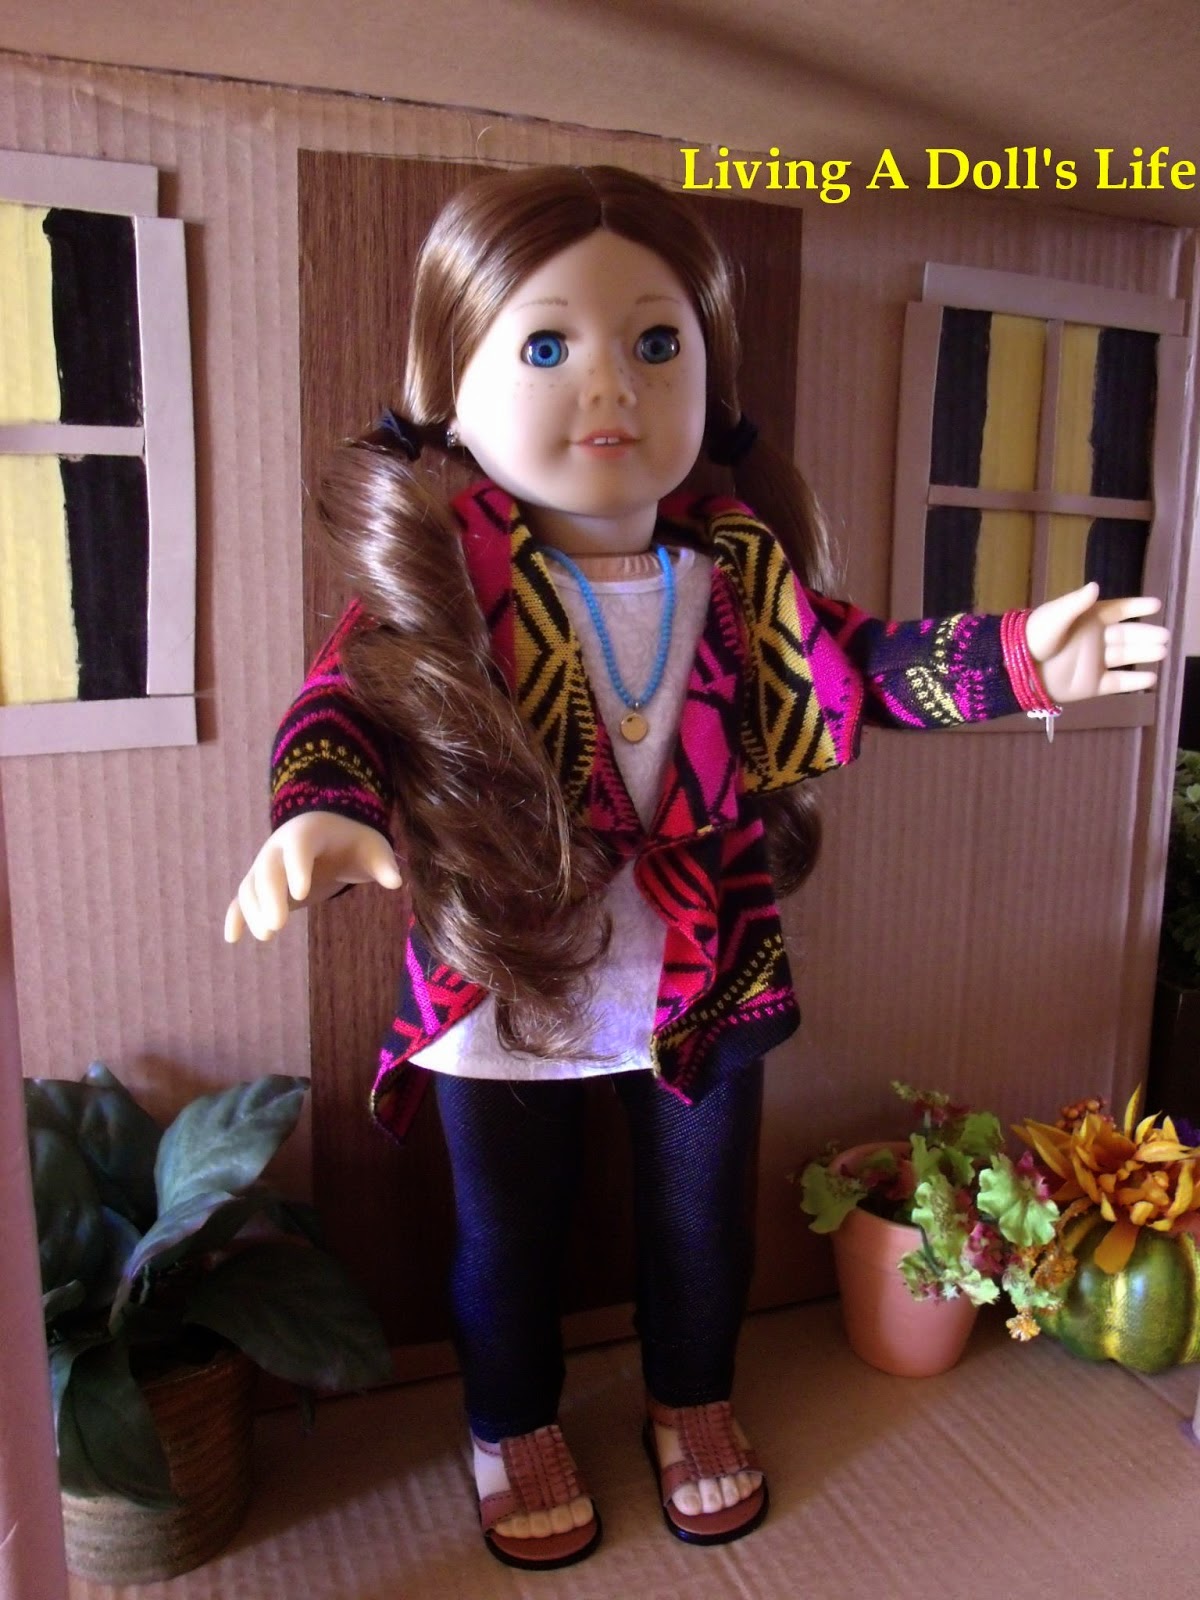
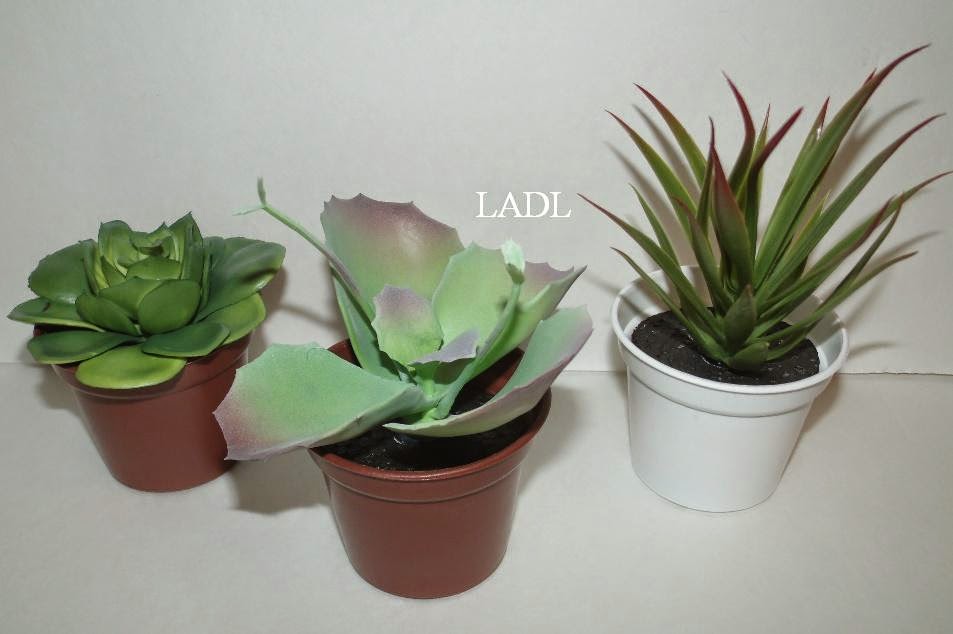


Add plants and your Casa is complete. I have added potted plants and a birdbath. I suggest adding more detail to really make it come alive. I haven't here because this was already a two-day project and I really wanted to get it published on my blog and post a TUTORIAL VIDEO.

 I will be adding popsicle sticks onto the porch floor with hot glue to give a textured wood look. Also I will be adding a trim piece to the fold on the pitched roof and onto the awning edge  so the bend and cardboard edges aren't exposed.

If you have any questions, please leave a comment below. I would love to help. GOOD LUCK!