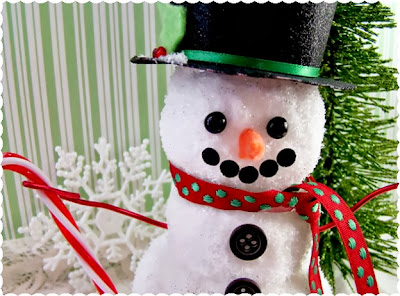
Let it snow! Let it snow! Let it snow!

You can make your own for your dolls!
Credit: Alyssabeth's VintageSupplies:
2
packages Styrofoam Balls
red floral wire
ribbon
plastic candy cane ornament
silver glitter
cotton balls
buttons
small Styrofoam coffee
cup
black glitter card stock
snow glitter
felt
glue
glue gun
clear spray
Instructions:
Take
three of the Styrofoam balls, cut the bottom on the largest flat on one
side, the middle ball cut flat on 2 sides, attach the 3 balls with a
glue gun.
Once the stack is dry un-roll your cotton balls (the cheap
cotton balls are best for this) and glue over the Styrofoam stack with a
glue gun.
Make a mixture of 2 parts white glue & 1 part water
paint this mixture over the cotton ball covered stack, now snow glitter
away!
While that is drying- start working on the top hat. Using a small Styrofoam coffee cup as the base for the
top hat. Remove the bottom of the cup and then cut the height of the
cup down. Using the black glitter paper cover the cup, see above, then cut out the
rim and top of the hat. Simply assemble this with glue. Once the hat is dry, trim with ribbon, and little
holly leaves from felt and red beads for berries and snow glitter.
Once the snowman body is dry add the ribbon scarf, buttons and the wire arms. The face was
created with 2 Victorian shoe buttons, hole punches from the black
glitter paper and a cone of orange felt.


I think this one looks btter than the AG version!
ReplyDeleteYes, this looks more realistic!
DeleteMe TOO!
ReplyDeleteI think both are really cute. This is definitely the better priced version. :) thank you for sharing the how to.
ReplyDelete